
Deploying Windows Server VM in Hyper-V
Introduction
In my role, I sometimes need to quickly whip up a Windows Server VM in Hyper-V and because this an infrequent activity, I tend to forget what to do and how to do this successfully. And because I am in a rush, these are notes for me to quickly get a Windows Server VM deployed in the Hyper-V manager without having to muck about searching the Internet.
I hope you find this helpful as well 🙂
Creating a VM in Hyper-V
This guide is a result of unsuccessful deployments via Quick Create. The reason for this is because the OS is created as Generation 2, and for some reason (to be ascertained later) Generation 2 doesn’t work, but Generation 1 does.
I would regularly get the ‘Start PXE over IP4 error, which would then result in the Virtual Boot Summary displaying errors with the network adapter and SCSI adapter.
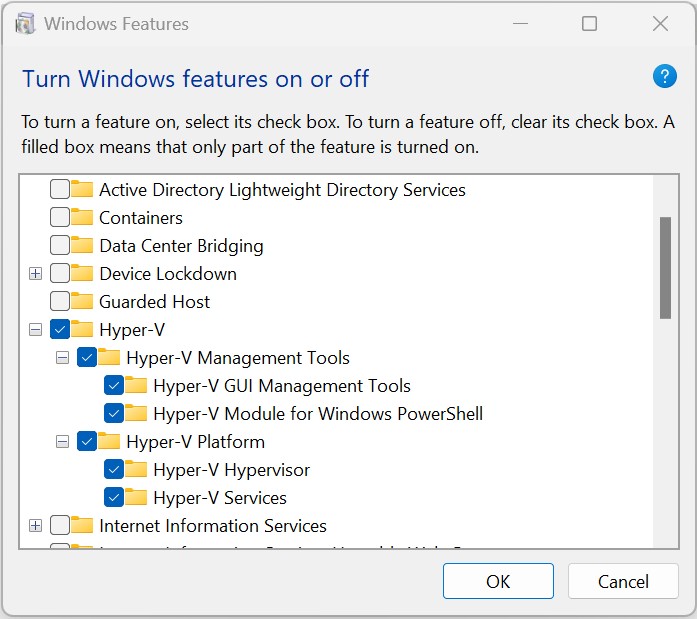
Enable Hyper-V Management Tools and Platform
In the Start Menu, type: Turn Windows features on or off. Windows Features window will appear. Go to Hyper-V and enable this feature by ticking Hyper-V:
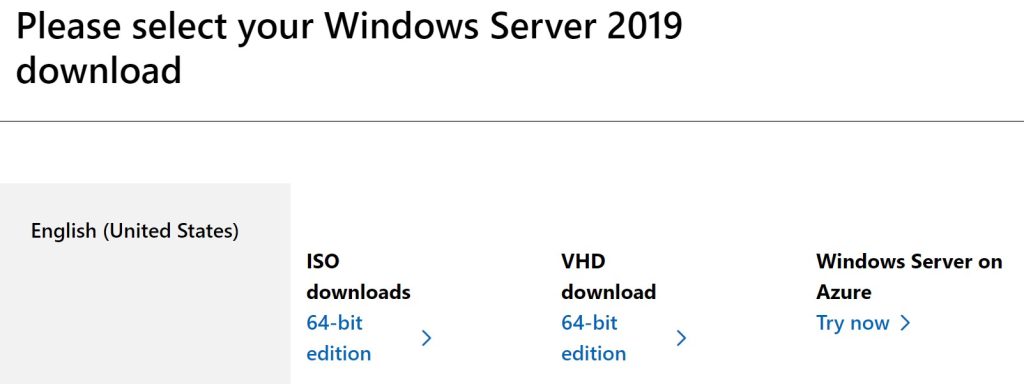
Download Windows Server ISO or VHD
Go to the Microsoft Evaluation center and download the 64-bit ISO or VHD. You can still download the image without registration and the trial evaluation period is 180 days. After that time the OS will display a reminder to license the OS or remove. https://www.microsoft.com/en-us/evalcenter/download-windows-server-2019
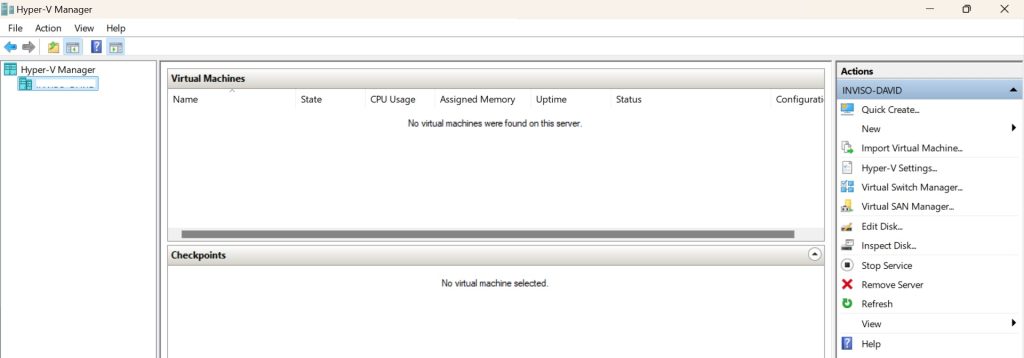
Start Hyper-V Manager
From the start menu, type Hyper-V Manager and click on the icon to start the Hyper-V management console:
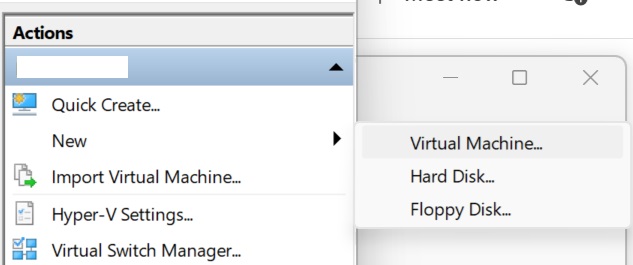
Create new Virtual Machine
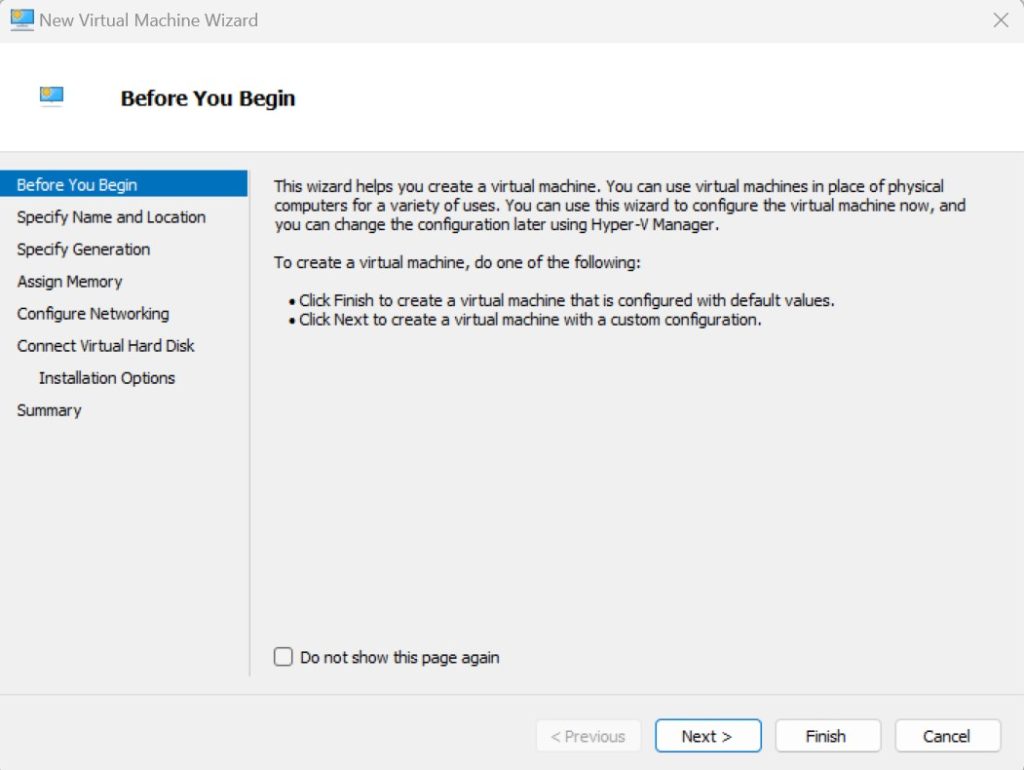
Then in the Action panel on the right-hand side, select New > Virtual Machine. A window for the The New Virtual Machine Wizard will appear.
Click Next to move past the Introduction page
Specify Name and Location
Name your virtual machine (in this case I am creating a VM for Azure Migrate testing) and for me, I will store the Virtual Machine image in C:\HyperV\, otherwise the folder may be stored in the default location. Note – I recommend not to store images in a Cloud-based drive folder as it will consume a decent amount of storage space.

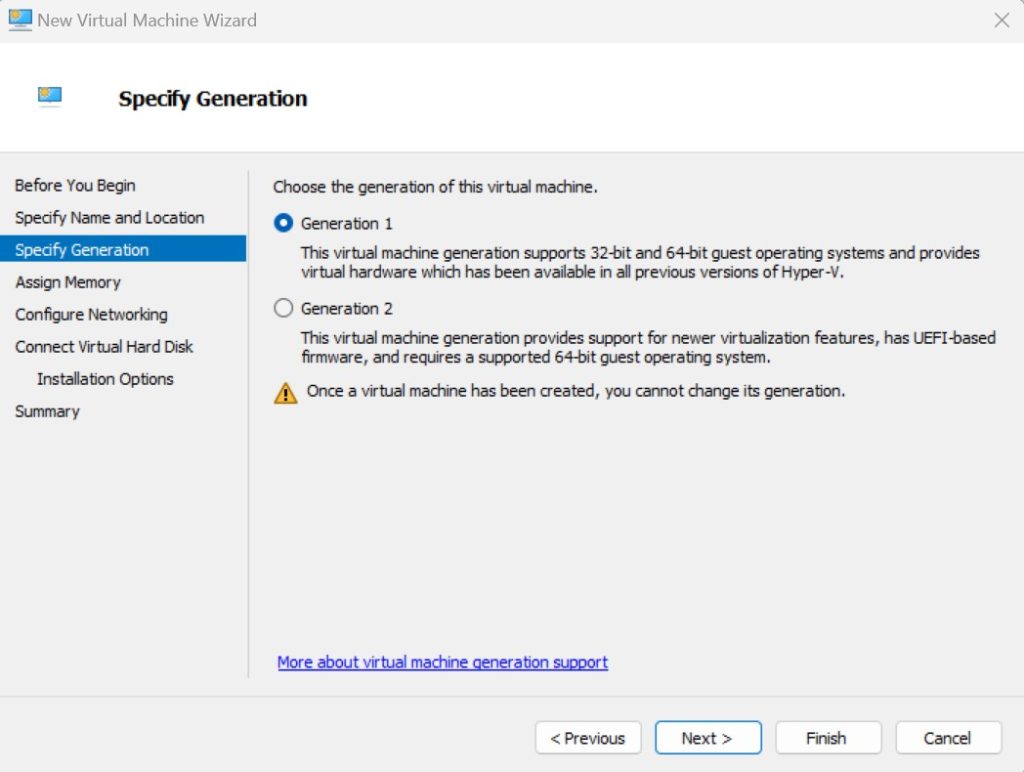
Specify Generation
Select the Generation 1 virtual machine. Note – You cannot change the generation after the VM is created. You will need to delete the VM and start again if the VM doesn’t start.
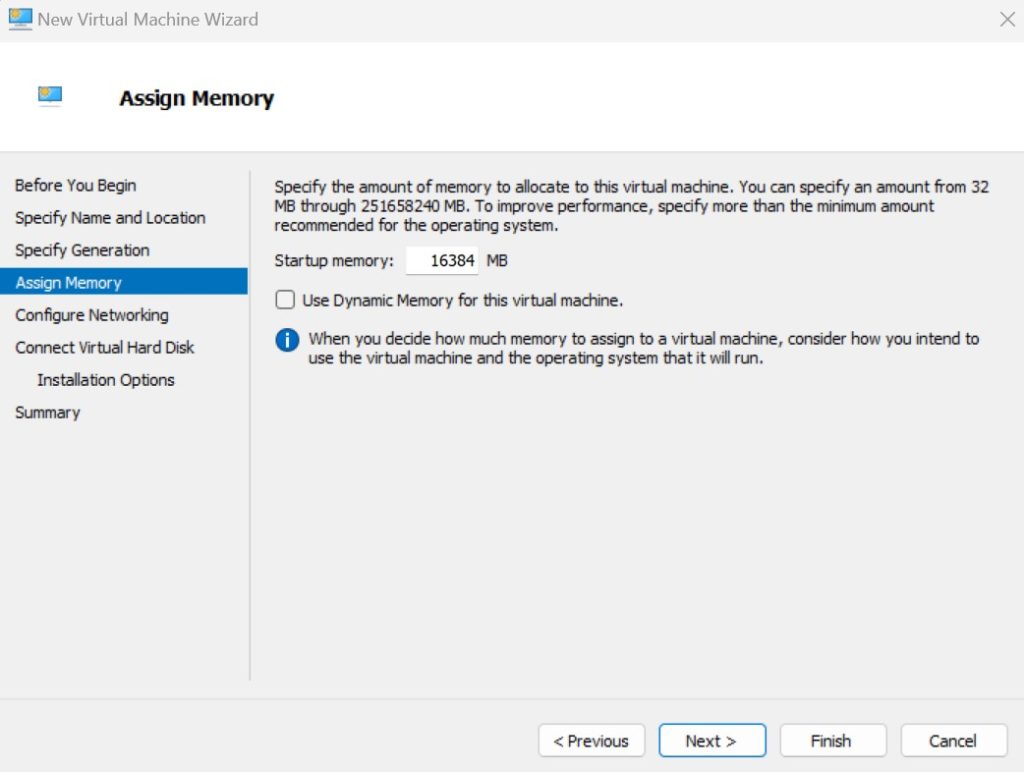
Assign Memory
The prerequisites for the software I need to test is 8 vCPU, 16GB RAM and 80GB of storage. This configuration can be changed later in the settings if required. In this scenario, I have assigned 16GB / 16384MB of memory. I also disabled Dynamic Memory for the Virtual Machine
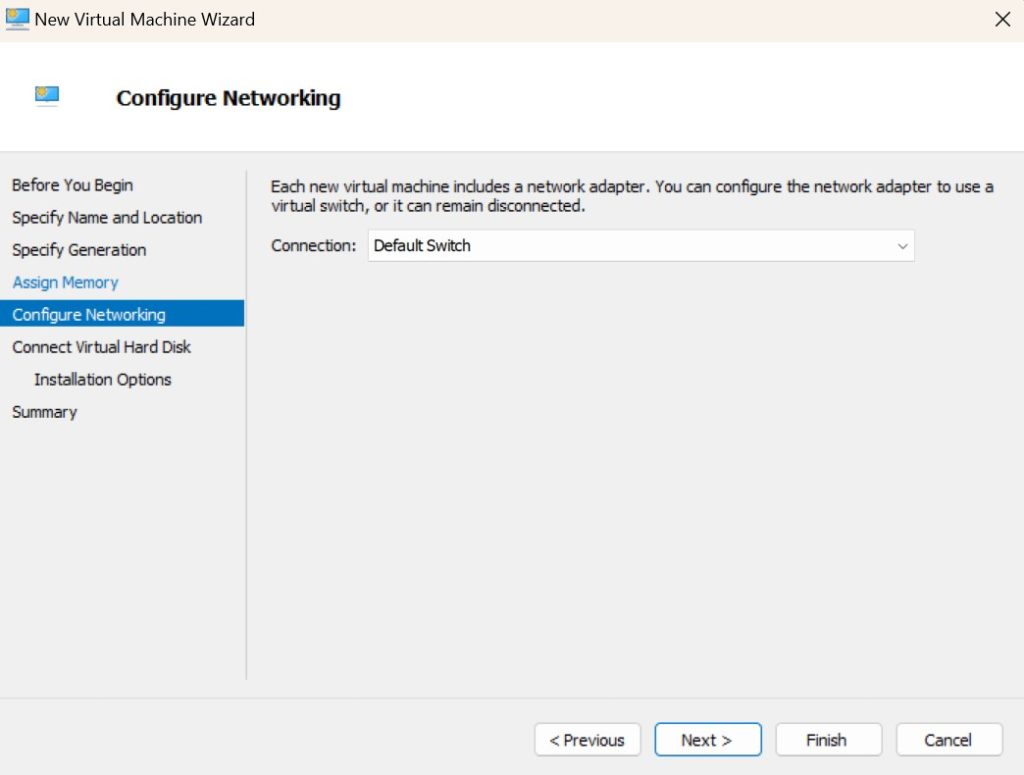
Configure Networking
From the drop-down, select Default Switch.
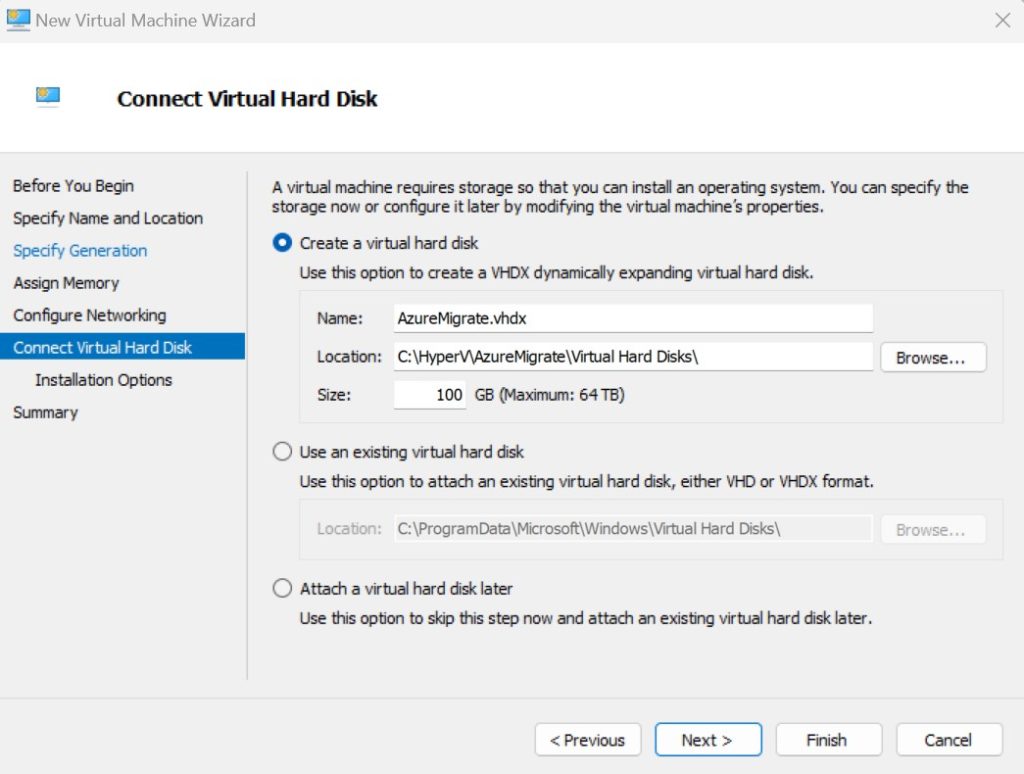
Create and Connect Virtual Hard Disk
The default name of the virtual hard disk is the name of the VM which you specified previously. For me, the virtual disk is located in the folder which I created and specified as the location, otherwise it will display the default location. I also configured the size of the virtual disk to 100GB, hence why I don’t put in a Cloud-based folder, because it is rather large.
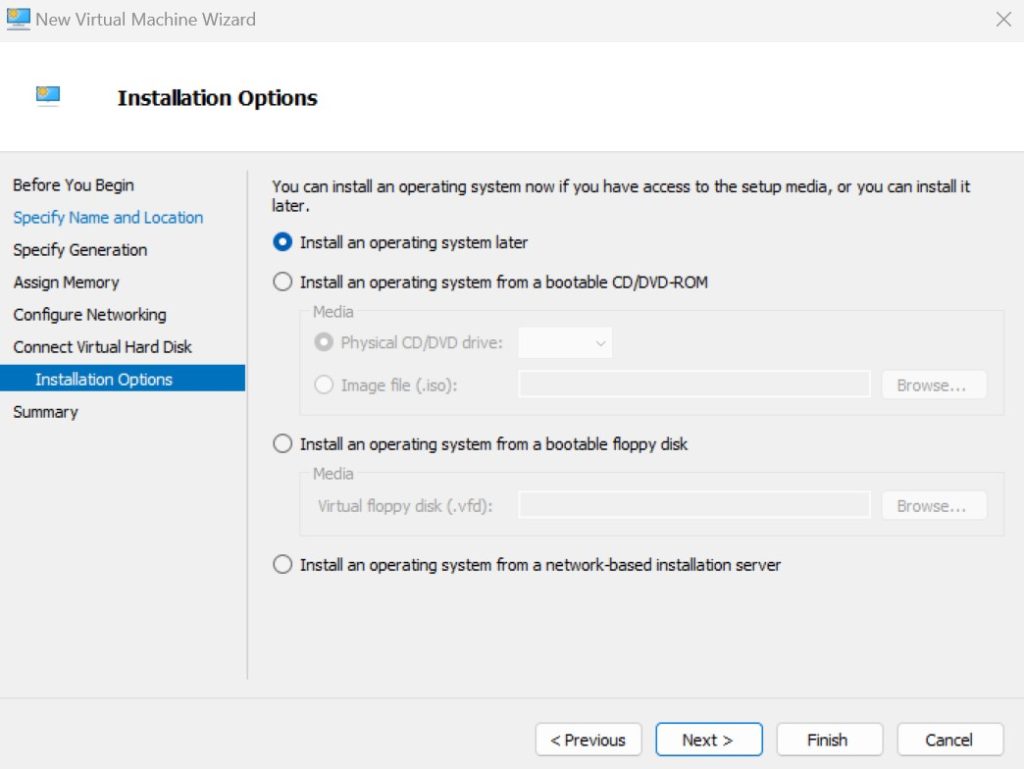
Installation Options
You can either install the operation system later, or now from ISO or CD/DVD-ROM (haha – I haven’t had a physical disk drive on my work laptops for over 10 years now..). I selected Install an operating system later, as I want to create the VM first, then prior to first start, add the Windows Server 2019 image. Then on first start, the option to install the OS is available, therefore no need to install the OS at this stage.
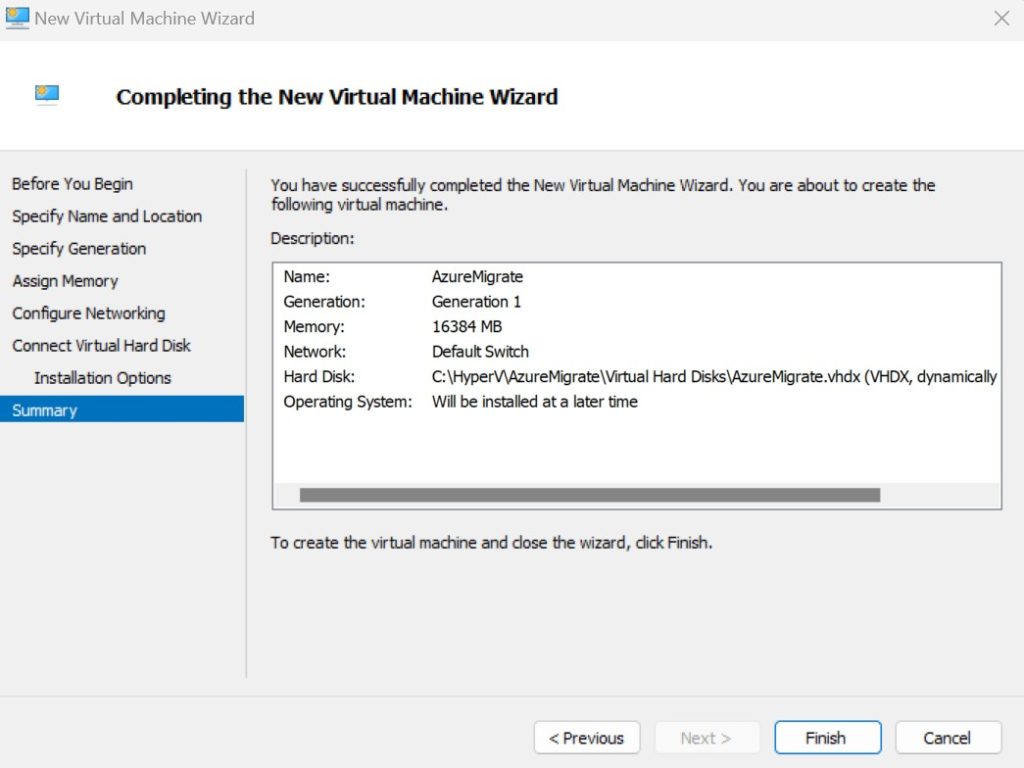
Wizard Summary
A summary of the Virtual Machine configuration is displayed before you finish the wizard.
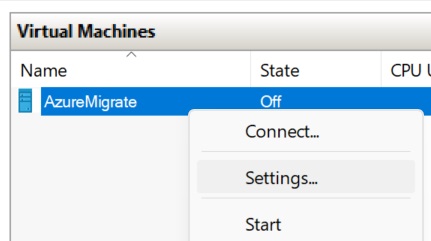
Boot OS Image on VM Start-up
We need to configure the VM settings and load the OS image so we can install Windows Server 2019 on VM start-up. Right-click on the VM server name and select Settings.
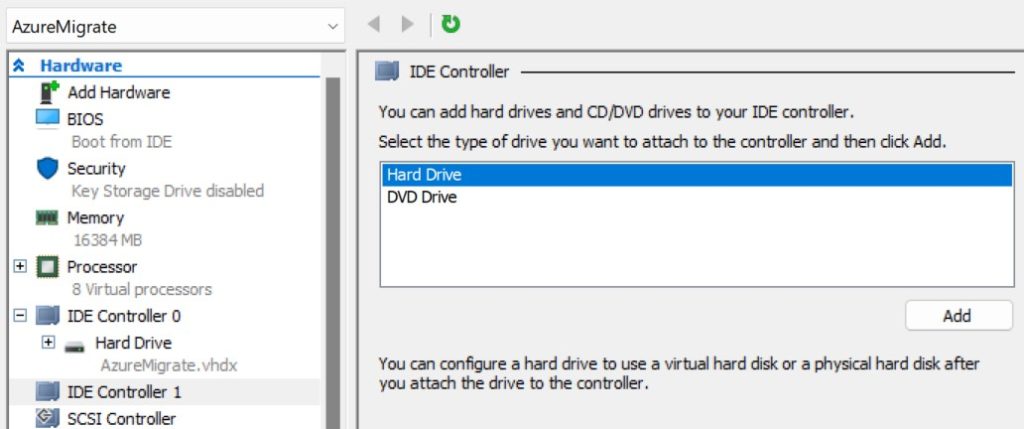
Go to IDE Controller 1 in the left hand menu, then select Hard Drive then Add.
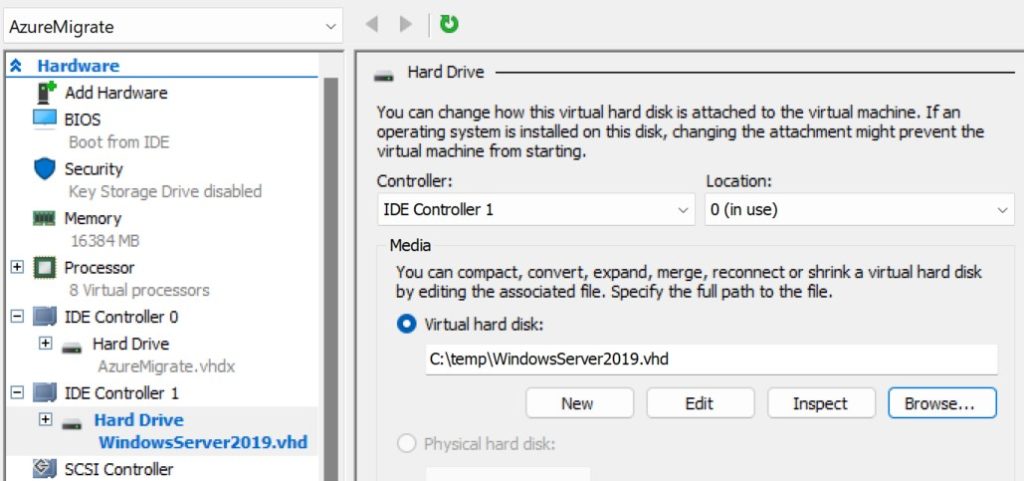
In the IDE controller, a virtual Hard Drive will appear. In the Media section select Browse, then select the VHD, in this case Windows Server 2019. The change is highlighted in blue in the left hand menu. Click Apply.
Configure Processor / vCPU settings
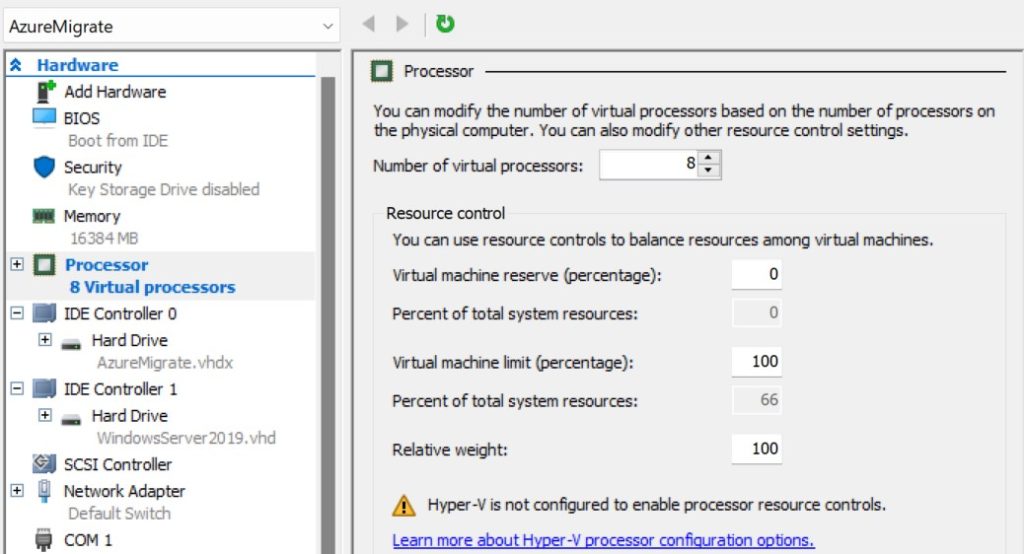
In the VM settings menu, select Processor and change the number of virtual processors. In this case, I am configuring for 8 vCPU. The change is highlighted in blue in the left hand menu. Click Apply.
Connect and Start the Virtual Machine
Once the VM settings are saved, right-click on the VM name again and select Connect. Then select Start.

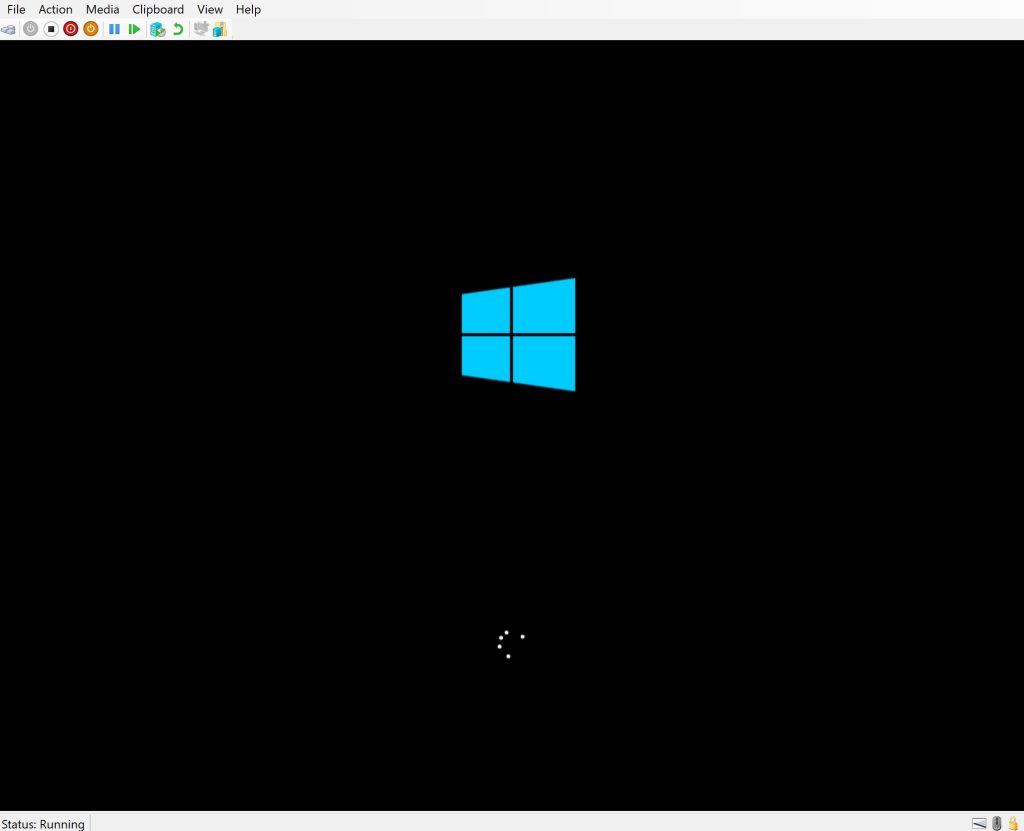
Operating System image will boot, then the installation loading and configuration screens will be displayed.
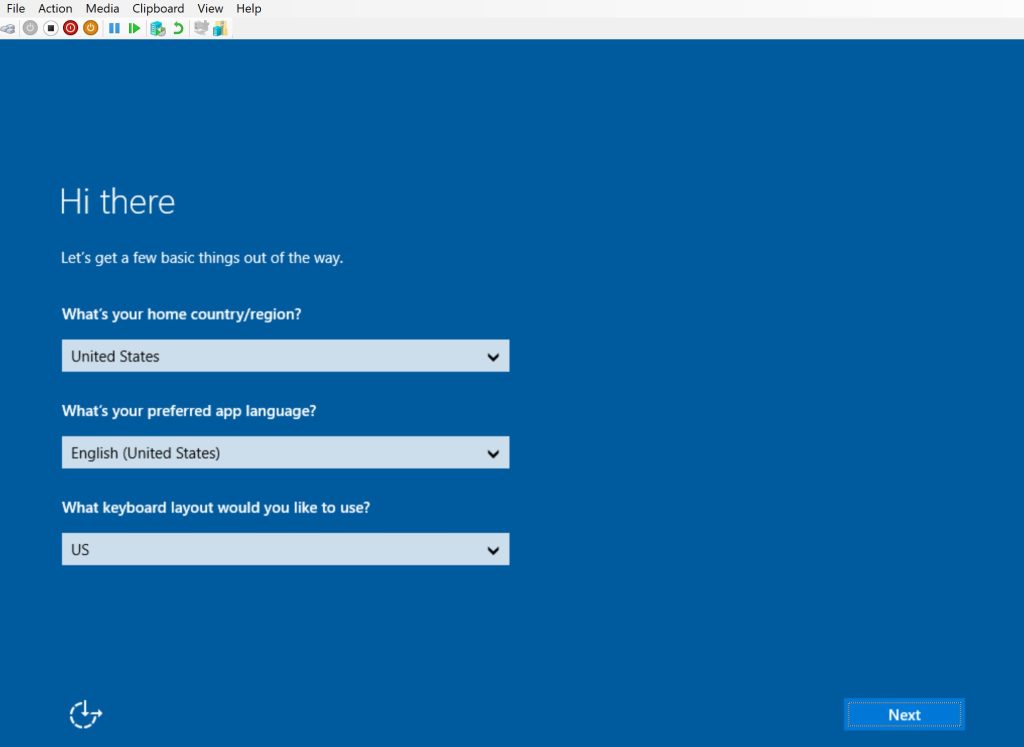
And now the Windows Server VM can be installed for evaluation and testing purposes. Don’t forget to save your administrator user and pass, as they are easy to forget if you don’t use the VM often.
Summary and Final Notes
Deploying a Virtual Machine in Hyper-V isn’t too hard, as long as you know the steps and configuration. This guide is not meant to be definitive step by step and I’m sure there are Wintel / Windows Server Administrator’s who would provide better guidance on how to deploy a VM in Hyper-V, but since I can never find a step-by-step how-to, I thought it would be better if I put something together that works for me 🙂
Cheers David